Particle tracking module
(in progress)
The PARTRAC Module still doesn’t have a complete web interface but the backend API is fully functional.
You can otherwise prepare an input layer with a GIS tool and run the module using a tool for API testing like postman or using interactive forms at api.tools4msp.eu.
Prepare input source layer in QGIS
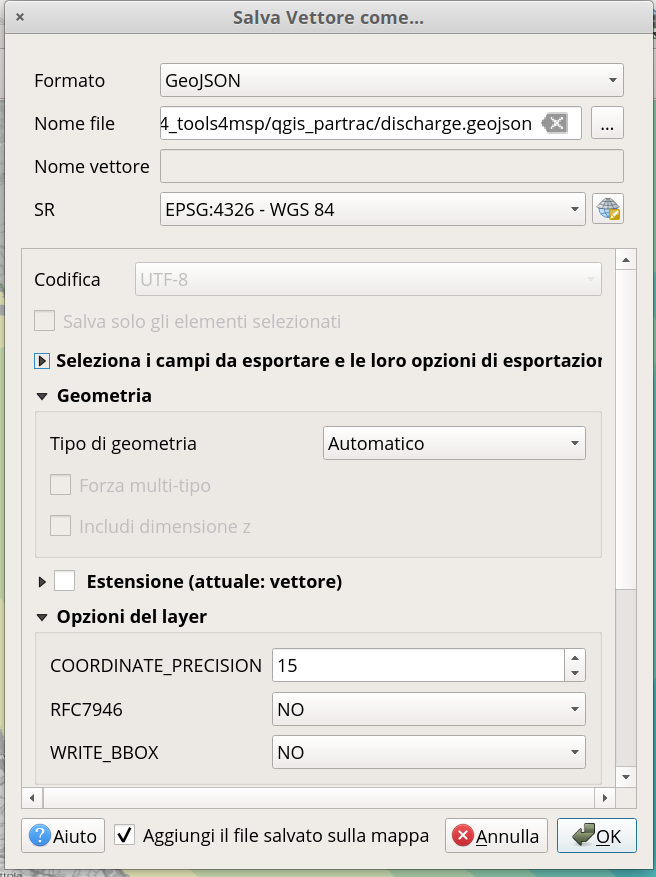
As already described in the PARTRAC module outputs section the deployment locations of the lagrangian particles are providede by a polygon layer. First of all you have to preapare this input layer in geojson format, then you will create a new case study and upload the layer of particle sources. QGIS is the most used Open Source GIS desktop software. You can download an example layer from here and open it in QGIS as a `vector layer.
Delete all polygons and draw new, then export as a geoJson Layer.

Fig. 39 QGIS save dialog
Please be sure to export your layer with Lat/Lon Spatial Reference System (EPSG:4326).
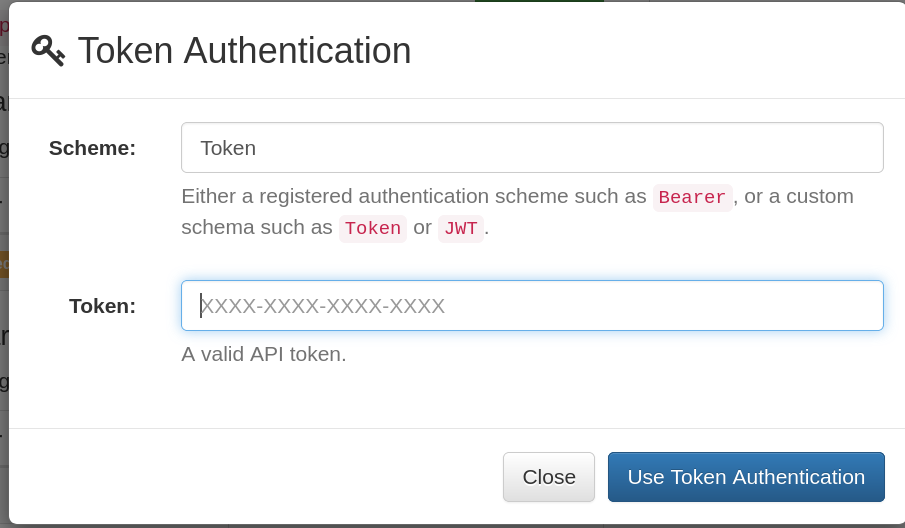
Request a token auth
You can request a Token by sending a mail message to the Tolls4MSP Team wich contact you can find on this page.
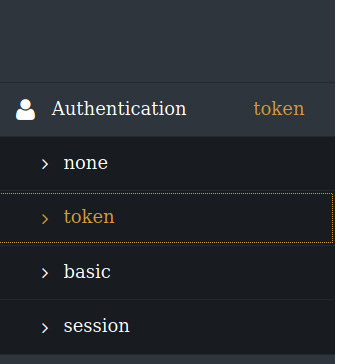
Once you0ve received the Token set authentication method on api page

Fig. 40 Auth Token configuration

Create new case study and Run
Query the existing case study with the url
Response:
[

{
    "url": "https://api.tools4msp.eu/api/casestudies/21/",
    "id": 21,
    "label": "ParTrac Case Study RER",
    "description": "Tracking of particle with and without specific sinking velocity released on the sea surface. The computation is based on the SHYFEM model and considers multi-years average circulation.",
    "module": "partrac",
    "cstype": "default",
    "resolution": 1000,
    "extent": [
        12.240773677863121,
        43.968733132355396,
        13.464816805611731,
        44.84709823169839
    ],
    "owner": "gair",
    "created": "2019-10-10T12:16:35.860391Z",
    "updated": "2020-05-14T13:57:19.937761Z",
    "thumbnails": [
        {
            "url": "https://api.tools4msp.eu/api/casestudies/21/inputs/64/",
            "file": null,
            "thumbnail": "https://api.tools4msp.eu/media/casestudy/21/inputs/casestudy-CS-THUMB.png",
            "coded_label": "https://api.tools4msp.eu/api/codedlabels/CS-THUMB/",
            "code": "CS-THUMB",
            "label": "Case Study Thumbanil"
        }
    ]
}
]
Create a new case study by cloning existing case study (here 21):
response:
{
"success": true,
"url": "https://api.tools4msp.eu/api/casestudies/127/",
"id": 127
}
Read input id of the PARTRACSOURCES layer in new case study:
[..some lines trimmed..]

{
"url": "https://api.tools4msp.eu/api/casestudies/127/inputs/349/",
"file": "https://api.tools4msp.eu/media/casestudy/127/inputs/partrac-PARTRACSOURCES.geojson",
"thumbnail": null,
"coded_label": "https://api.tools4msp.eu/api/codedlabels/PARTRACSOURCES/",
"code": "PARTRACSOURCES",
"label": "Geojson sources for ParTrac module"
}
url -> id = 349
Upload new layer.
run module