CEA Module on GAIR
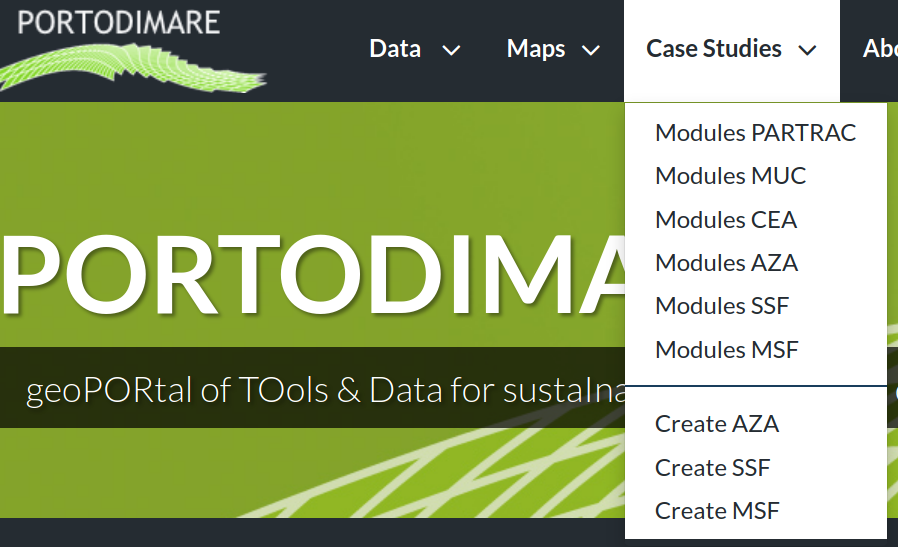
From Case studies select the Module CEA menu item to explore
the list of available case studies for that module.
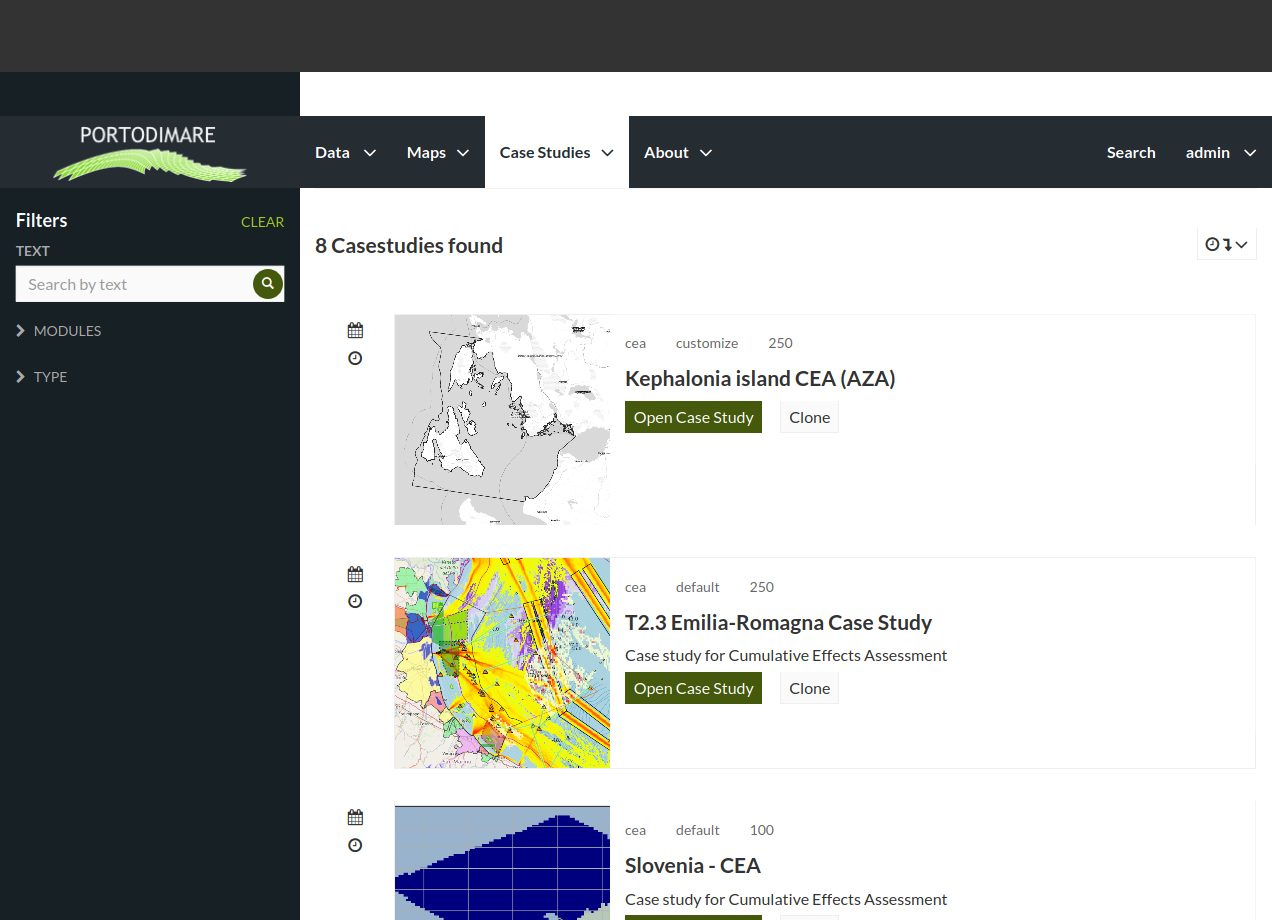
Fig. 31 CEA case studies list.
Each list item for CEA related case studies present a small overview of the domain area, the case study type (default or customized), resolution of the grid, Case study title and description.
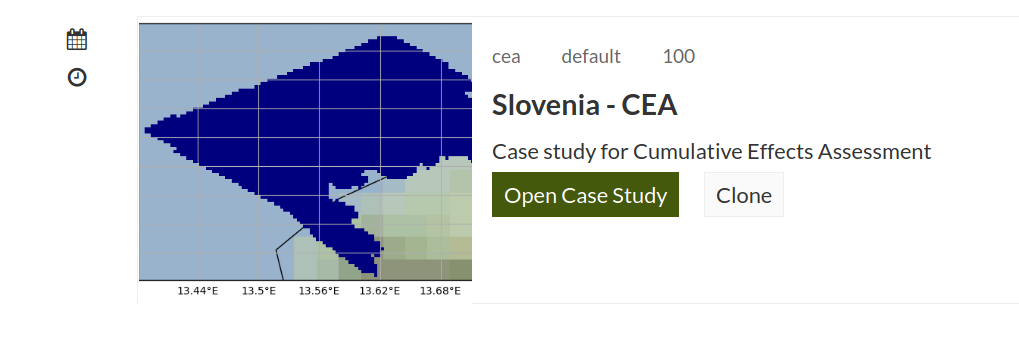
Fig. 32 CEA case study list item.
To open a case study click on the title or “open” button. The detail page presents all layers and layer expressions already configured for the case study
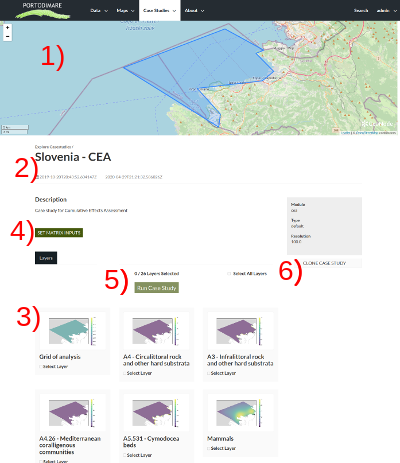
Fig. 33 CEA case study detail page
In the case study detail page (Fig. 25) are presented the following elements:
a map section with the domain area boundaries;
name and description of the case study;
the list of input layers as described in Module inputs;
4) the SET MATRIX INPUTS button to change values of weights
and sensitivity matrix as described in :Module inputs;
the
run case studybutton to run the CEA module within this case study;
6) the clone case study button (6) to create a
customized case study starting from this configuration;
You can either set configuration data in the default case study (input layers and input matrix) or clone the current case study to create a customized one
To check the content of a layer you can click on the layer thumbnail to open a new window
with a larger preview image and a Download layer control.
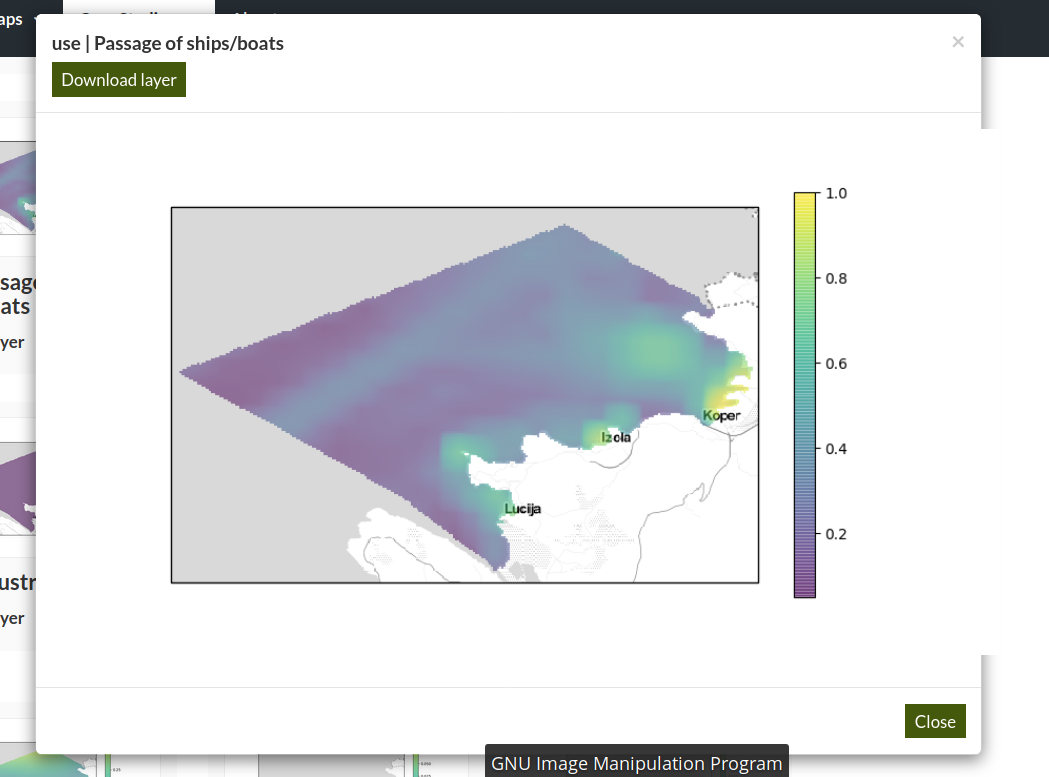
Fig. 34 CEA case study layer preview
Configure default run
Select input layers from list. You’ll see the list of input layers displayed as a grid with layer name, thumbnail and selection control. The input layers thumbnails are is loaded directly from the API server and in case the thumbnails are not showed as usual could be due to a connection trouble with the external server.
Please check the layers list and identify what kind of input each layers refers to.
Table 6 Example of CEA input layers¶ Layer
Input type
Domain area boundary
Embedded in case study def
Grid of analysis
Resolution (required)
Mammals
environmental component
Fishing ports
human use
You can quickly select all layers using
select all layerscheckbox, this will compute CEA considering all enviromental components and all human uses available- If you need to investigate the cumulative effects on a subset of components or human uses you can manually select (or deselect) the layers to consider.Review or change input values for weights/sensitivities matrix. Click on
SET MATRIX INPUTSto open the matrix input widget for weights and sensitivities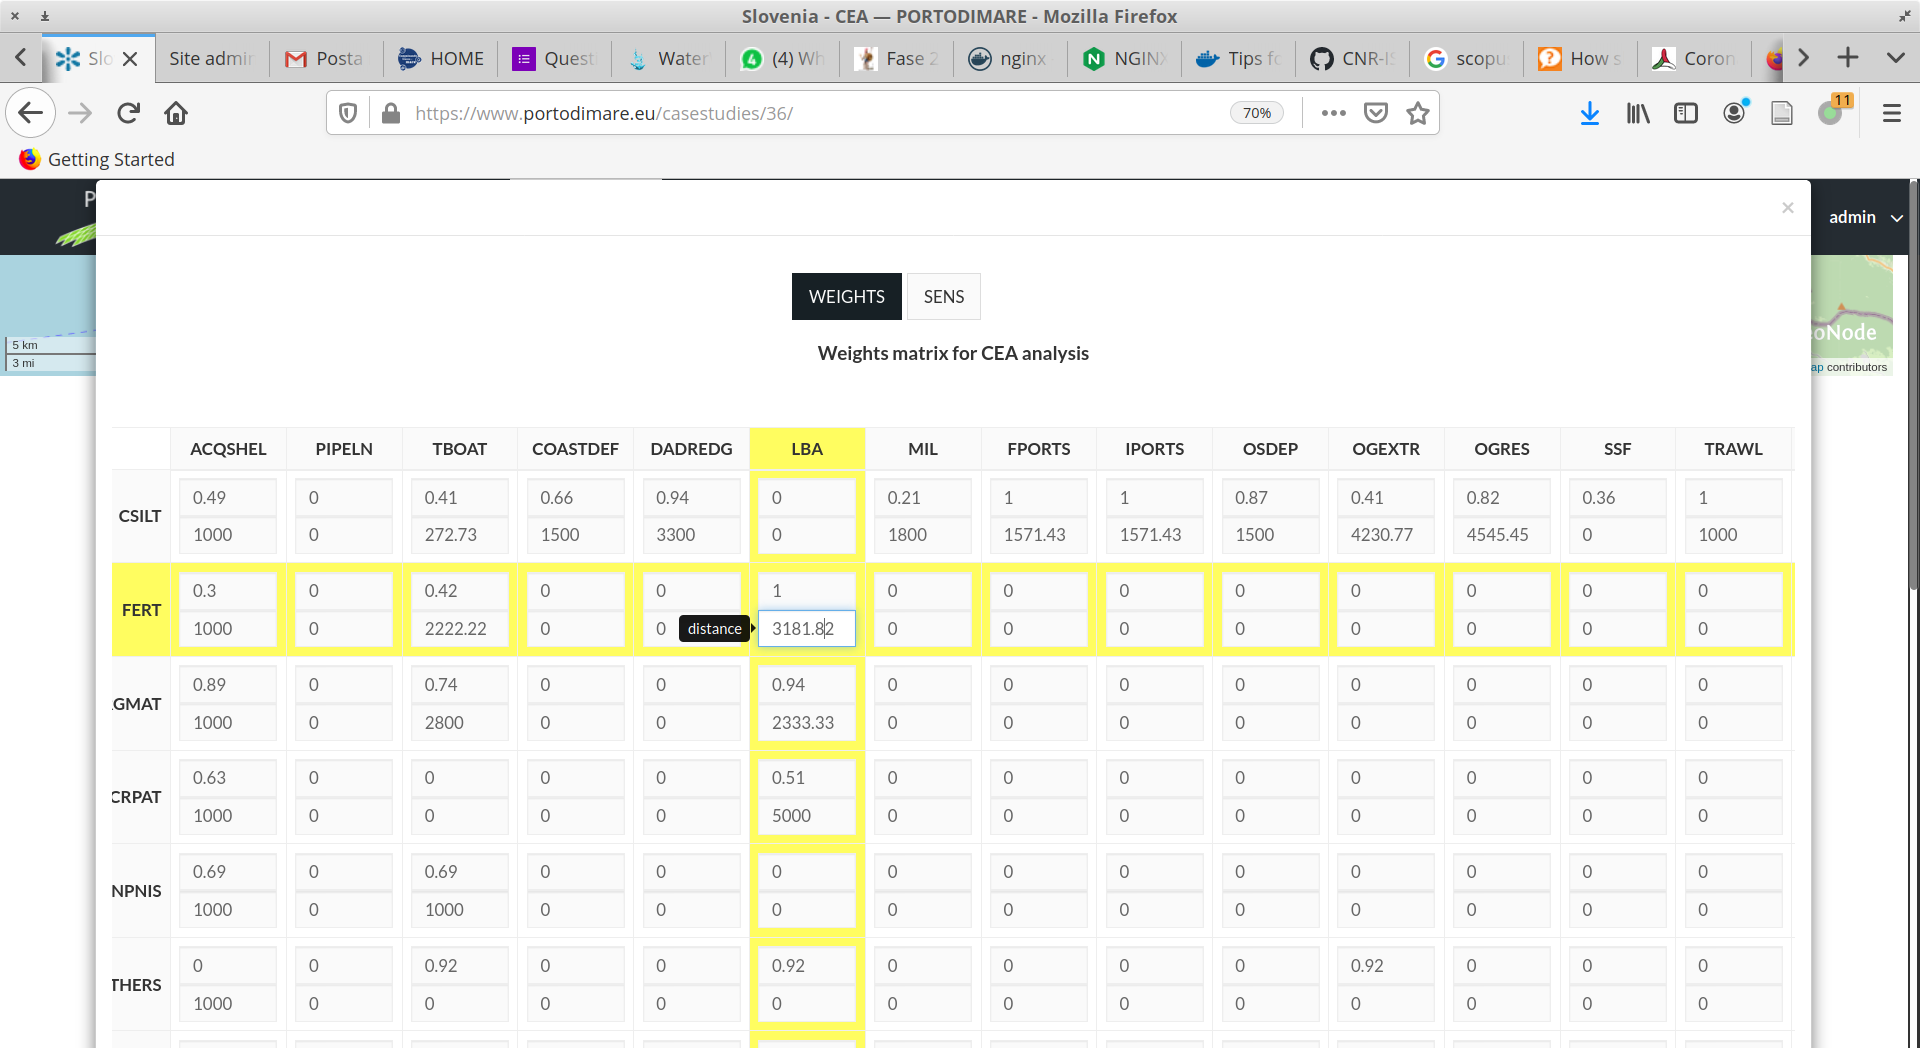
Fig. 35 CEA weights matrix input widget
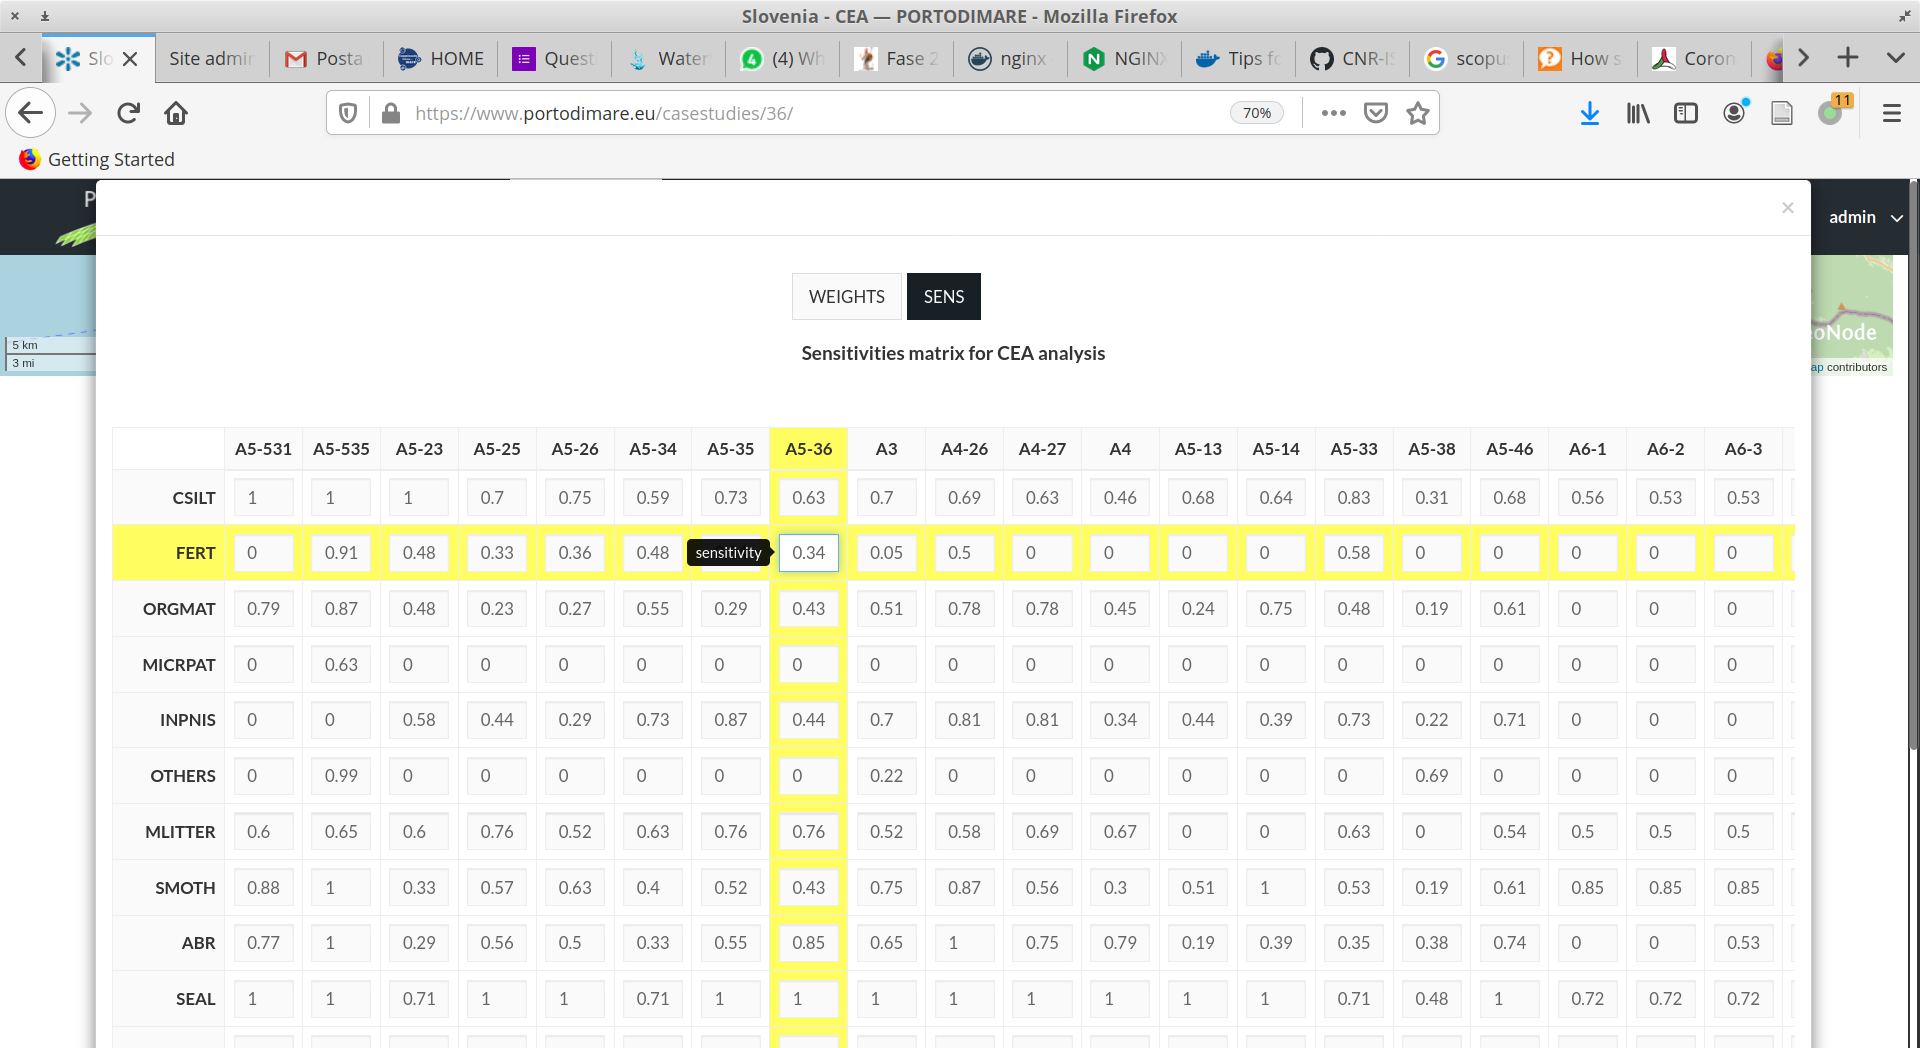
Fig. 36 CEA sensitivities matrix input widget
Click on
Run Case Studyto run teh module for the current case study. When the Run is complete the results will be listed in the same page on a new tab.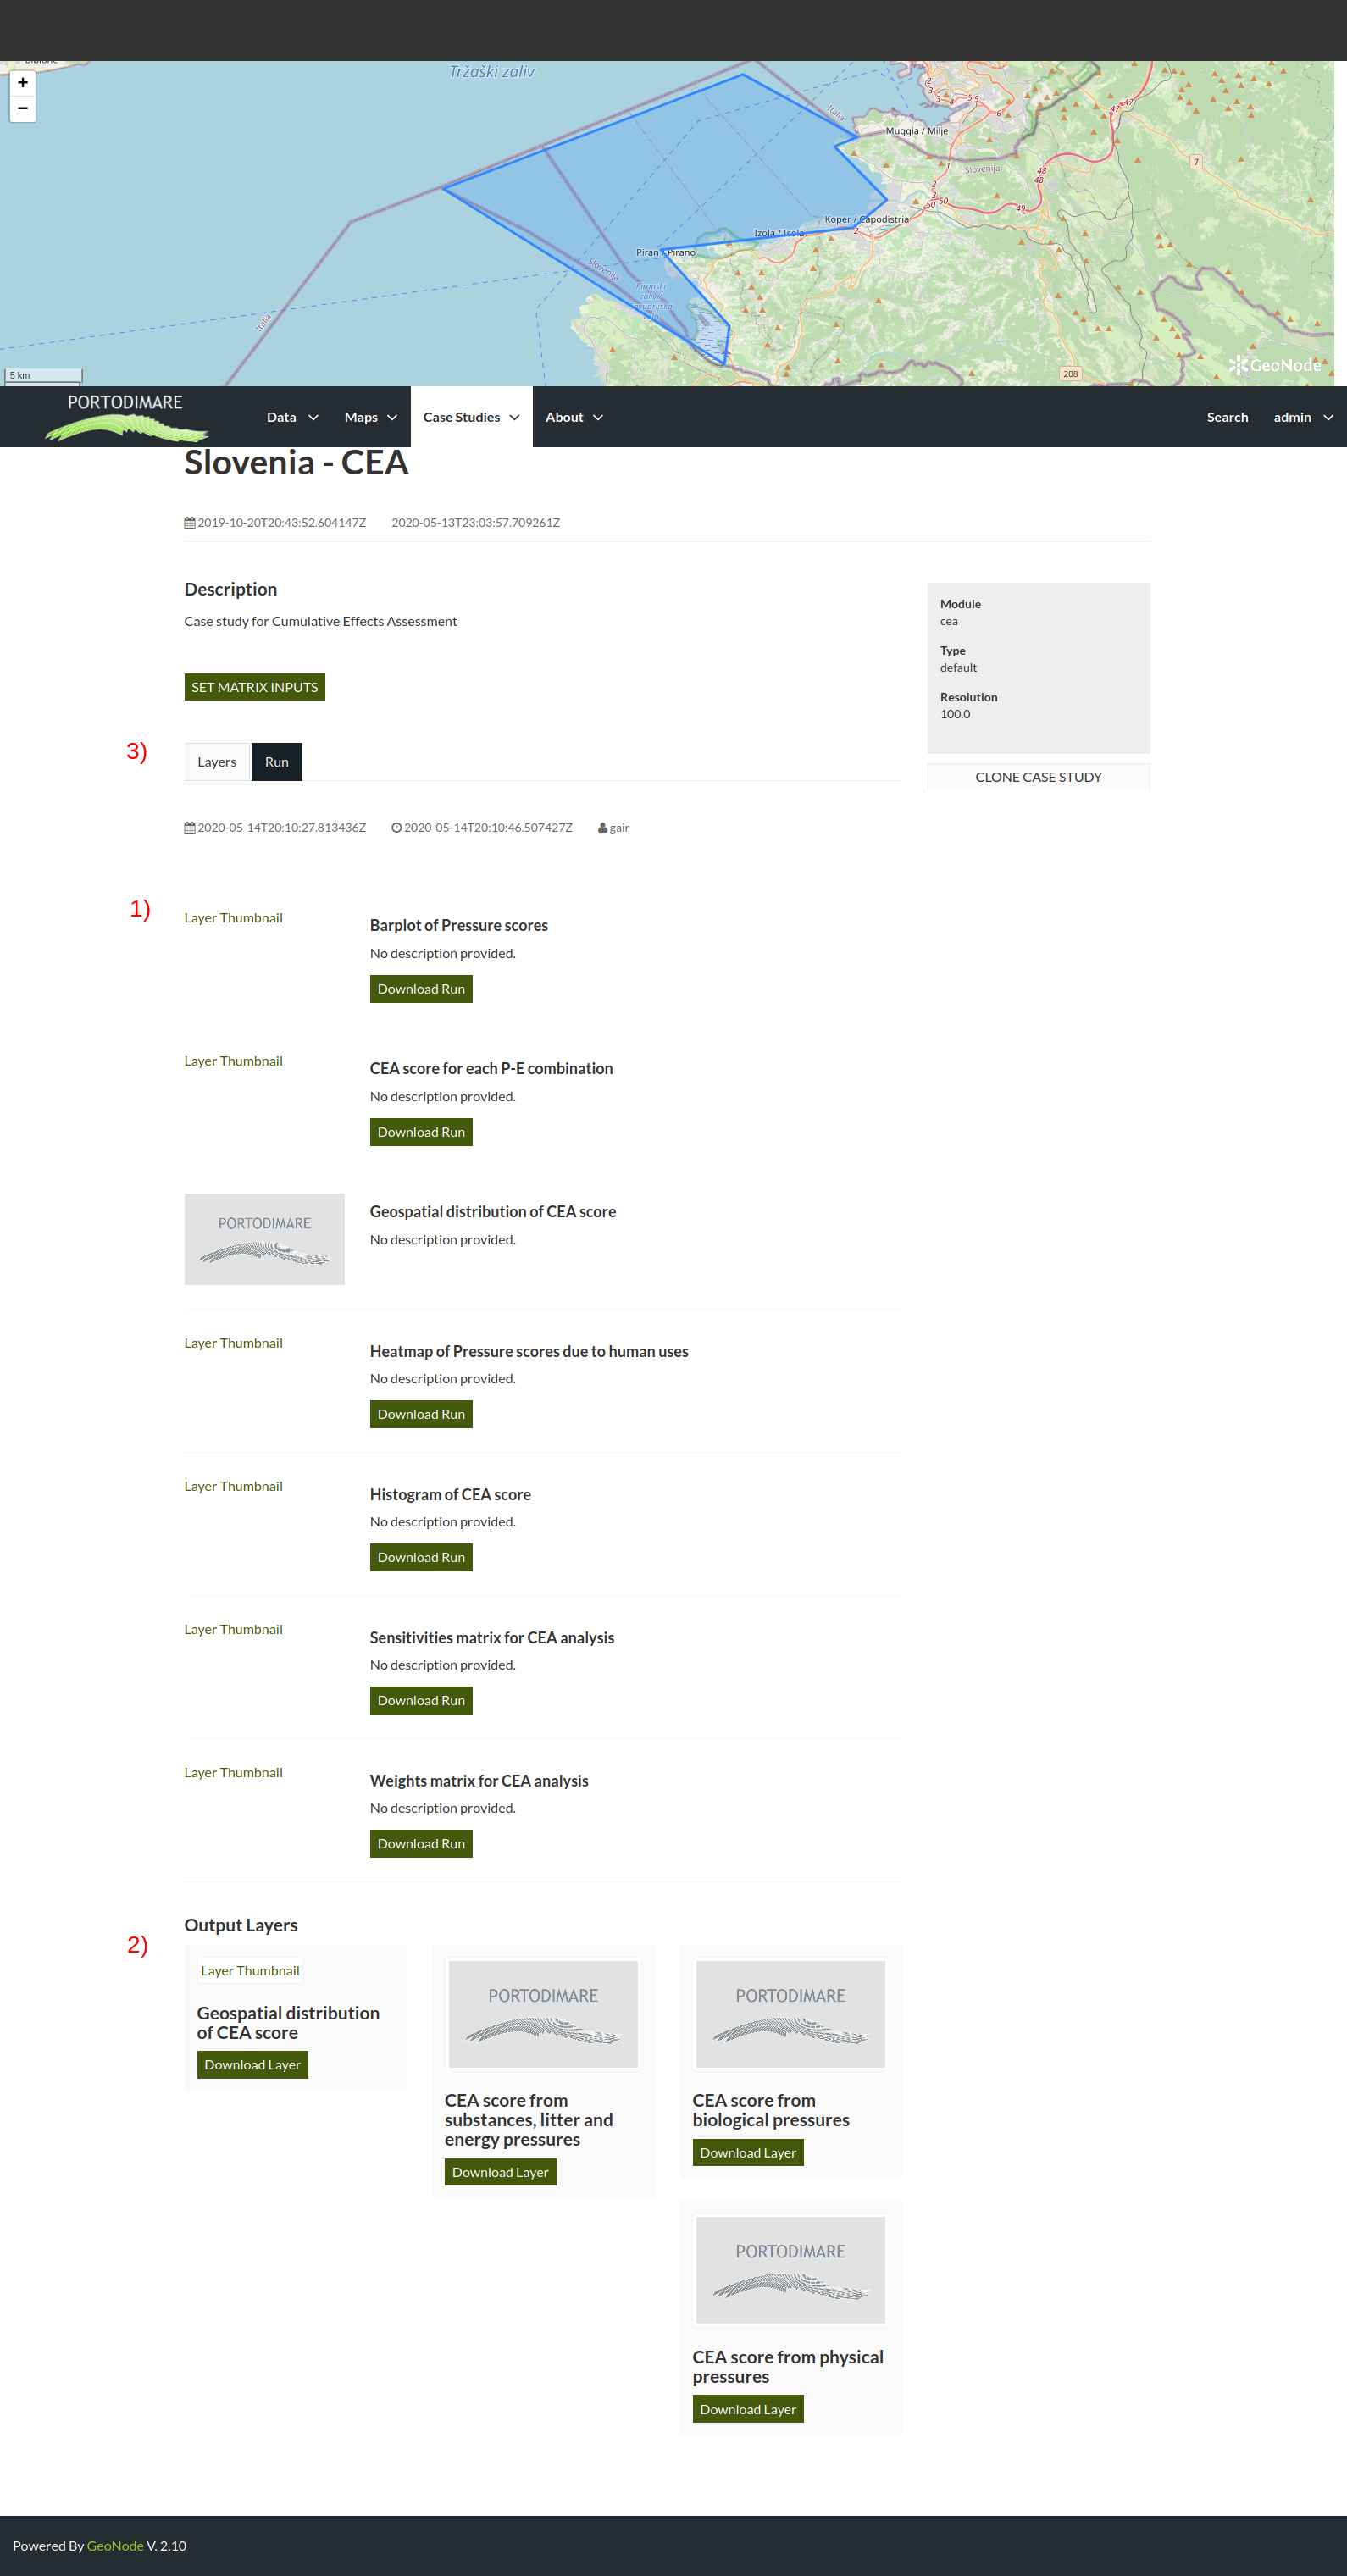
Fig. 37 CEA results list: json results (1) and raster outpus (2)
To download the json output right click on
Download Runbutton and selectSave destinationTo download raster outputs jus click onDownload LayerTo make another Run click again on theLayertab (3).
Clone case study to a customized one
select
Clone case Study: the new case study will open in the same page but you’ll see Type: customized in the summary box over 6 (Fig. 25)write down the Case Study ID number in the las part of the new URL (e.g.
https://www.portodimare.eu/casestudies/XXX/)create new layer expression and add it to case study as described in How to create a new expression section and link to the new created case study (you can identify the correct one with title and ID see Create expression interface number 2).
to add new layers already stored in the geoportal you need to create a simple layer expression with just one layer without operators.
get back to the customized case study using
View case studyButton (Fig. 47)click
Run Expression(Fig. 45) for each customized layer then select the coded label from dropdown list to assign the result to a CEA input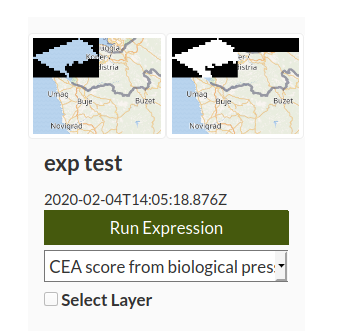
Fig. 38 CEA coded label selection
Select layers and set matrix inputs as described in Configure default run section
